
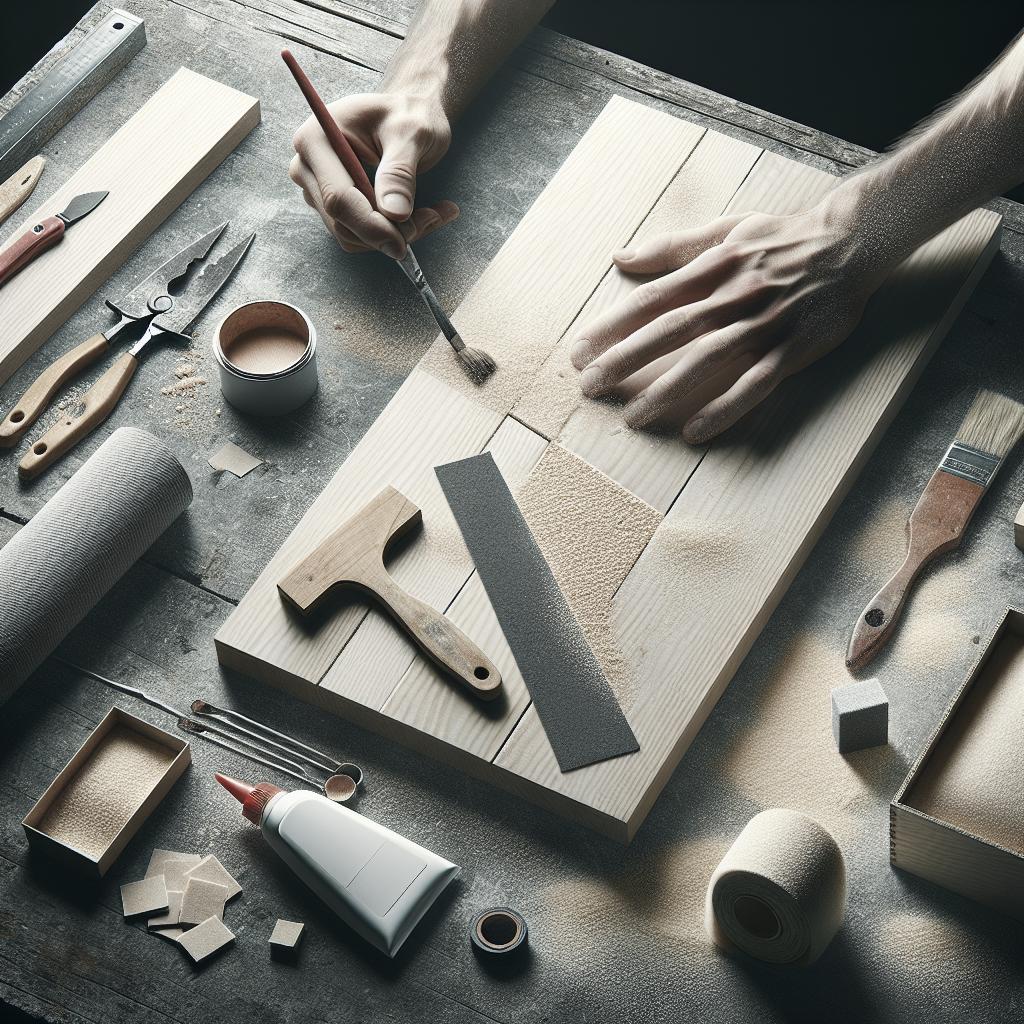
Particle board is commonly used in furniture and cabinet construction due to its cost-effectiveness and versatile nature. However, it is also prone to damage, especially from water exposure. If you’ve encountered issues with your particle board furniture or fixtures, don’t worry—repairing it is a feasible DIY project with the right steps and tools. This blog post will guide you through a comprehensive process to fix your particle board surfaces. We’ll look into drying out the affected areas, buffing irregularities, removing damaged sections, applying wood filler, and performing a final sanding to make your particle board as good as new. Let’s dive into the detailed steps for a flawless repair experience.
1. Dry out the area:
When it comes to repairing particle board, the first step is to ensure that the affected area is completely dry. Particle board is highly susceptible to moisture, and any repair efforts on a wet or damp surface will almost certainly result in failure. To dry out the area, you can use a variety of methods. Start by wiping down the surface with a dry cloth to remove any standing water. If the damage is extensive, you may need to use a hairdryer set to a low heat setting or place a fan near the area to expedite the drying process. Proper ventilation is crucial in this step. Open any nearby windows or doors to facilitate airflow and reduce the humidity level in the room. For areas that are more seriously compromised, consider using a dehumidifier to remove moisture from the air. Ensuring the particle board is thoroughly dry will provide a solid foundation for subsequent repair steps.
2. Buff it:
Once the particle board is fully dry, the next step is to buff the damaged area. Buffing helps to smooth out any irregularities, such as swelling or rough spots, caused by water damage. Begin by using medium-grit sandpaper to gently sand the surface. Be cautious not to sand too aggressively, as particle board can easily crumble if too much pressure is applied. Sand with a light hand, ensuring you cover all uneven areas. After the initial sanding, switch to a fine-grit sandpaper to achieve a smoother finish. This step will help you create an even, level surface that will better adhere to the wood filler applied later on. Once you are satisfied with the smoothness, use a clean cloth to wipe away any sanding dust to prepare for the next step in the repair process.
3. Cut out the ruined areas:
In some cases, sanding alone won’t be enough, and you’ll need to cut out the ruined areas of the particle board. Start by marking the damaged sections with a pencil. Use a utility knife or a jigsaw for more precise cuts. Carefully cut along the marked lines, taking extra caution to avoid splintering or causing further damage to the surrounding areas. The objective here is to remove only the compromised sections while maintaining as much of the sturdy, original board as possible. Once the damaged areas are removed, you may find gaps or holes that need to be filled. Make clean, uniform cuts to ensure that filling these gaps later will be easier and result in a better finish. Removing the damaged sections is crucial for ensuring that the repair holds up over time and that the structural integrity of the particle board is restored.
4. Add a wood filler:
The next step in repairing your particle board is to apply wood filler to the gaps created by removing the damaged areas. Choose a high-quality wood filler that matches the color of your particle board or can be painted over later. Use a putty knife to apply the filler, pressing it firmly into the gaps or holes. Smooth the surface as much as possible, as this will minimize the amount of sanding required once the filler has dried. Allow the wood filler to dry completely, following the manufacturer’s drying time recommendations. Keep in mind that thicker applications may require longer drying times. Applying the filler correctly and ensuring it is fully dry are critical to achieving a durable, long-lasting repair.
5. Do a final sanding:
Once the wood filler has dried thoroughly, it’s time for the final sanding phase. Start with medium-grit sandpaper to remove any excess filler and create an even surface. Pay attention to the edges of the filled areas to blend them seamlessly with the surrounding board. This step is essential for achieving a professional, finished look and ensuring the repaired section is indistinguishable from the original surface. After the initial sanding, switch to fine-grit sandpaper for a ultra-smooth finish. Sand the entire area lightly, focusing particularly on the filled sections. Once you’re satisfied with the smoothness, wipe down the surface with a damp cloth to remove any remaining dust. Your particle board should now be repaired and ready for any final touches, such as painting or sealing. “`html
| Step | Description | Tools Needed |
|---|---|---|
| 1. Dry out the area | Ensure the particle board is completely dry to provide a solid foundation for repair | Dry cloth, hairdryer or fan, dehumidifier |
| 2. Buff it | Sand the surface to smooth out any irregularities caused by damage | Medium-grit and fine-grit sandpaper, clean cloth |
| 3. Cut out the ruined areas | Remove seriously damaged sections for a more stable repair | Pencil, utility knife, jigsaw |
| 4. Add a wood filler | Fill gaps or holes with wood filler and smooth the surface | High-quality wood filler, putty knife |
| 5. Do a final sanding | Fine-sand the filled areas for a flawless finish | Medium-grit and fine-grit sandpaper, damp cloth |
“`